
Creating a new Gmail account is easy and can help you communicate, be productive, as well as stay organized. Whether you're making an email account for work, school, or personal use, this post will walk you through each step to ensure everything goes smoothly.
Why Choose Gmail?
Let's look at why Gmail is so popular with people before we start the process of making one:
- User-friendly Interface: Gmail's layout is simple, making it easy to move around as well as manaemails.
- Robust Features: Gmail's powerful search tools, customized labels, as well as built-in Google services increase productivity.
- Safety: Google has strong safety features, such as two-factor authentication and advanced spam blocking.
- Free Storage: Every Gmail account has 15 GB of free storage that can be used in Gmail, Google Drive, and Google Photos.

Step-by-Step to Creating a New Gmail Account
Step 1: Visit the Gmail Sign-Up Page
- Open your web browser.
- Go to the official Gmail sign-up page by entering [www.gmail.com]
- Click on the “Create account” option.
Step 2: Choose Your Account Type
Then, you will be asked to make an account for yourself or your business. So, pick the choice that works best for you.
Step 3: Fill Out the Registration Form
You will need to provide the following information:
- First and Last Name: Enter your name as you want it to appear.
- Username: Choose a unique username for your Gmail address (e.g., username@gmail.com). However, if your preferred username is taken, Gmail will suggest alternatives.
- Password: Create a strong password (at least 8 characters) that combines letters, numbers, and symbols for better security.
- Confirm Password: Re-enter your password to confirm it.
Step 4: Provide Additional Information
After filling in the basic details, you will need to provide some additional information:
- Phone Number: This is optional but recommended for account recovery and security verification.
- Recovery Email Address: This is also optional but can help you recover your account if you forget your password.
- Date of Birth: Enter your birth date.
- Gender: Select your gender from the dropdown menu.
Step 5: Agree to Google’s Terms and Conditions
- Read through Google’s Terms of Service as well as Privacy Policy.
- Click on the checkbox to agree to the terms.
- Click on the “Next” button to proceed.
Step 6: Verify Your Phone Number (Optional)
Google may send you a verification code if you provide a phone number. So, enter the code you receive to verify your number. In addition, this step will enhance your account's security.
Step 7: Customize Your Account
- You will be prompted to add a profile picture. But you can skip this step or upload an image.
- Choose your preferences for personalization as well as notifications.
Step 8: Explore Your New Gmail Account
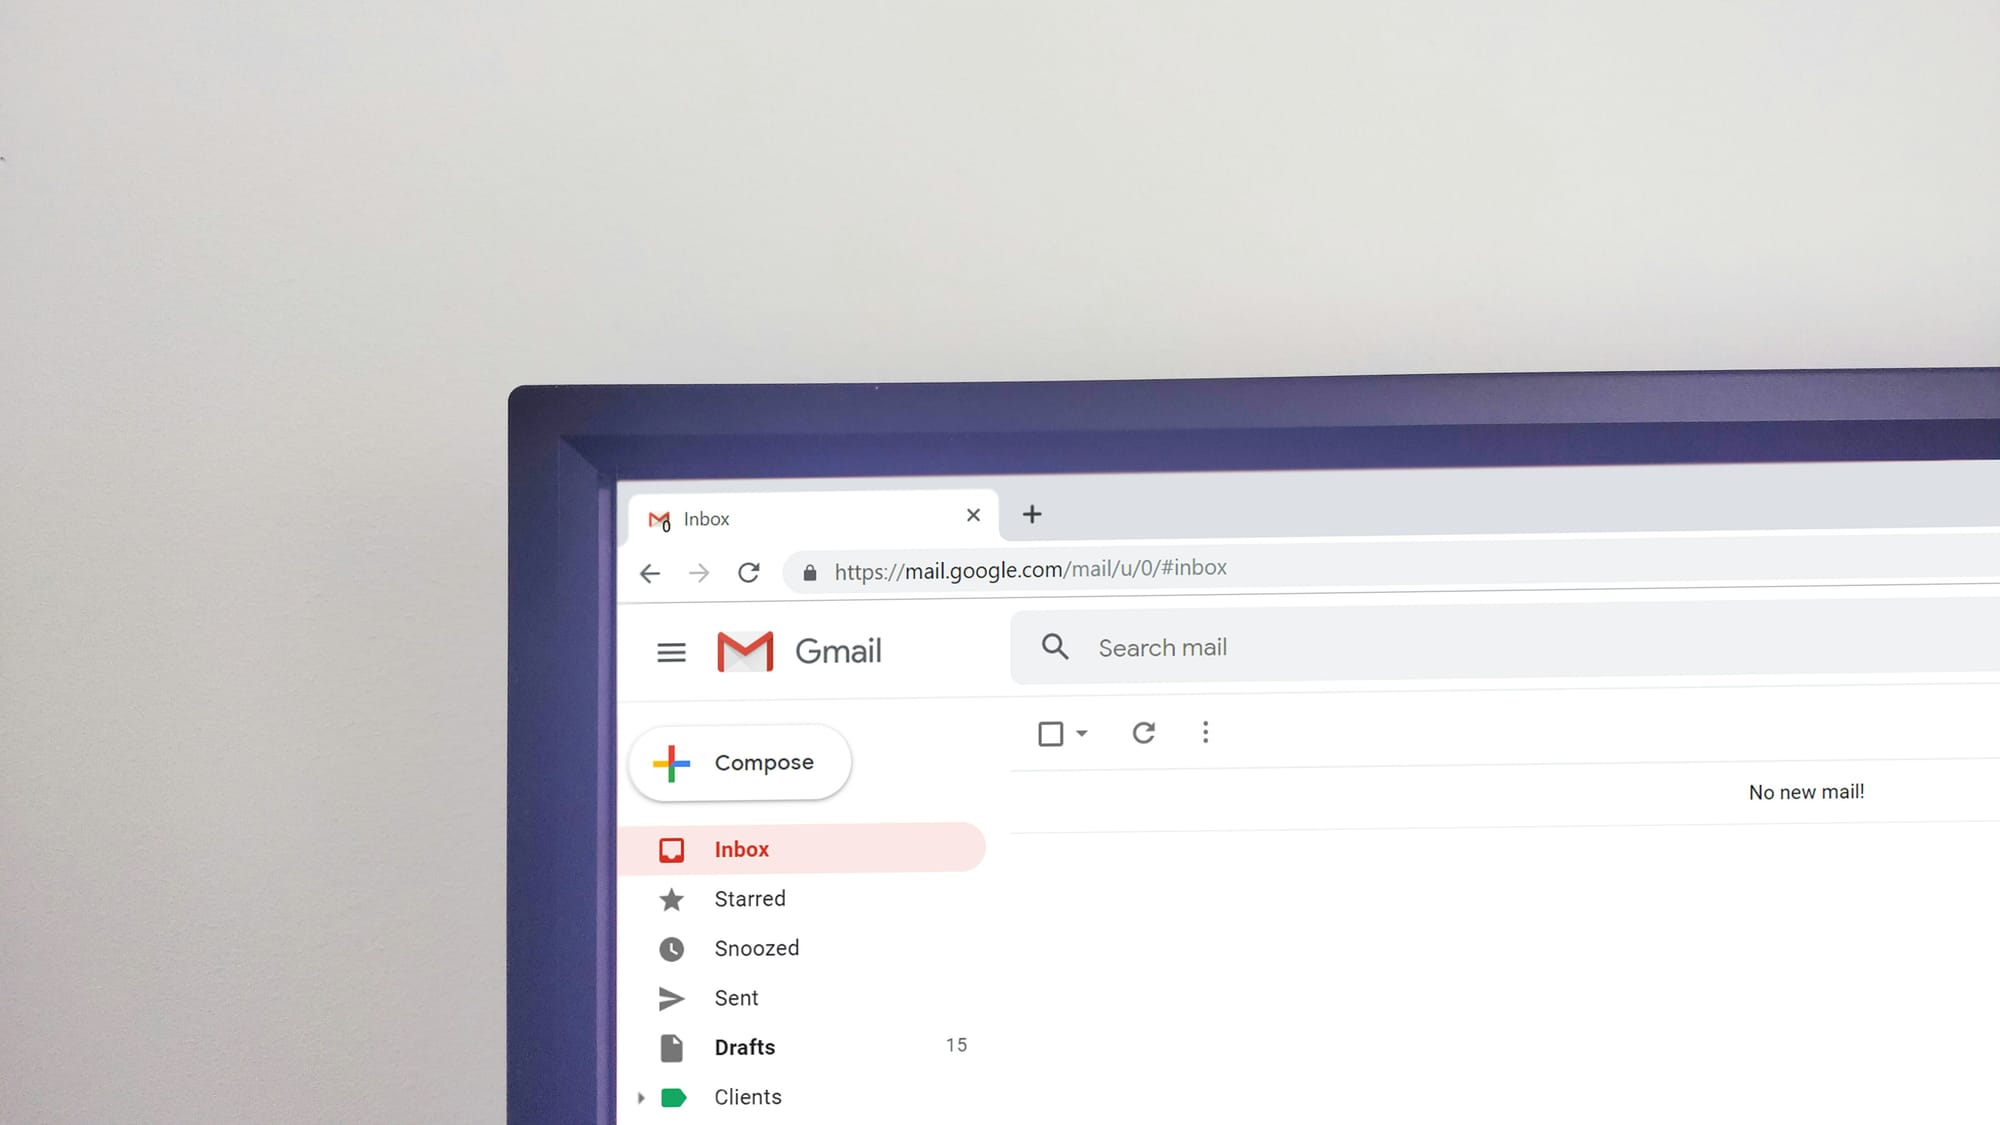
Once your account is created, you will be directed to your new Gmail inbox. So, take a moment to explore the features:
- Compose: Start sending emails by clicking on the “Compose” button.
- Labels: Organize your emails using labels for easy navigation.
- Settings: Customize your inbox as well as notification settings by clicking the gear icon.
Tips for Managing Your Gmail Account
- Use Filters: Set up filters to automatically sort incoming emails into designated folders.
- Enable Two-Factor Authentication: Increase your account security by enabling two-factor authentication in your account settings.
- Regularly Update Your Password: Change your password periodically to maintain security.
Making a new Gmail account is an easy step, but there are important things you can do to improve your online communication. You now have a complete idea of how to make an email account, customize it, manage it, as well as use it effectively. So, use these tips immediately to make your email experience smooth and valuable. Have fun emailing!
