
Having a custom email domain is not just a luxury but a necessity for businesses and individuals looking to establish a professional online presence.
A custom email domain not only makes your business more visible but also improves the reliability and consistency of your communications.
So, we will show you how to create a custom email domain, including both free and paid options, and give you actionable tips on how to get your own email domain.
Why Choose a Custom Email Domain?
Let's talk about the pros of having a custom email domain before we get to the steps:
- Brand Visibility: prospects can quickly find your business by looking up your domain name in a unique email address.
- Integrity: An email address with your company name sounds more official and reliable than one that is just random letters and numbers.
- Consistency: You can make email addresses the same for everyone and give jobs consistent group addresses, like support@yourdomain.com.
- Brand Marketing: Getting a private email address is an easy way to promote your business.

Free Email Domain Options
You can get a custom email domain for free, but paid options come with more features and more choices.
Zoho Mail
- Benefits: Zoho Mail offers a free plan for small businesses or teams with five users or less, including 5GB storage per user and email hosting for a single domain.
- Steps:
- Step 1: Add and Verify Your Domain - If you already own a domain, add it to Zoho Mail. If not, you can buy a new domain with Zoho.
- Step 2: Add Users - Create custom domain email accounts for all your employees or import users from a CSV file or Active Directory.
- Step 3: Create Domain-Based Email Accounts - Use distribution lists to allow multiple members to receive emails from common accounts like info@yourdomain.com or contact@yourdomain.com.
- Step 4: Configure MX Records - Point your domain's MX records to Zoho Mail servers to start receiving emails to your domain accounts in Zoho.
- Step 5: Start Email Migration - Simultaneously start email migration for your users.
Google Domains
- Benefits: Google Domains offers a simple and user-friendly interface for managing your domain, including the ability to set up custom email addresses.
- Steps:
- Step 1: Register Your Domain - Choose a reliable domain registrar like Google Domains and register your desired domain name.
- Step 2: Set Up DNS - Configure your DNS settings to point to Google's email services.
- Step 3: Create Email Accounts - Use Google Workspace (formerly G Suite) to create custom email addresses with your domain name.
Paid Email Domain Options
While free options are great for small businesses or individuals, paid options offer more features and better support. Here are some popular paid options:
Zoho Mail
- Benefits: Zoho Mail offers a range of plans, including advanced features like ad-free mailboxes, multiple layers of security, and seamless collaboration tools.
- Steps:
- Step 1: Purchase a Domain - Buy a new domain or use an existing one.
- Step 2: Set Up DNS - Configure your DNS settings to point to Zoho Mail servers.
- Step 3: Create Email Accounts - Use the Zoho Mail Admin App to add users and create custom domain email accounts.
Google Workspace (formerly G Suite)
- Benefits: Google Workspace offers a comprehensive suite of productivity tools, including Gmail, Google Drive, and Google Docs, all integrated with your custom domain.
- Steps:
- Step 1: Purchase a Domain - Buy a new domain or use an existing one.
- Step 2: Set Up DNS - Configure your DNS settings to point to Google's email services.
- Step 3: Create Email Accounts - Use Google Workspace to create custom email addresses with your domain name

How to Choose a Reliable Email Provider?
When you buy an email domain, it's very important to pick a reputable email provider. There are many choices, so it's important to think about a few things to make sure you pick the right provider for your needs.
Choosing an Email Provider
- Safety: Choose email companies that offer strong safety features like end-to-end encryption, spam filters, and malware detection. It is best to choose service providers that have a good history of keeping user info and privacy safe.
- Storage Capacity: Consider how much storage space you need and pick an email provider that gives you that much. Also, consider the size of the attachments you send and receive often and whether you need to store them for a long time.
- Reliability and Uptime: Make sure the email service has a good name for being reliable and having little downtime. Read reviews and comments from current customers to get an idea of how stable the service is for them.
- User Interface and Features: Compare how easy it is to use and what features each email company offers. Look for a design that is clean, easy to understand, and simple to use. You should also think about features like advanced search, tools for organizing emails, and the ability to connect to other work apps.
- Mobile Accessibility: Think about whether you need to be able to easily get to your email account on your phone. Find an email service that either has a mobile app or a responsive web interface that works well on phones and laptops.
- Customer Service: Make sure that the email service company has good ways for customers to get help, like live chat, email, or the phone. Quick and helpful customer service can be very important for solving problems or handling concerns that may come up.

How to Buy a Custom Email Domain?
There are steps you need to take to buy an email domain after you have picked a good email provider. So, we'll walk you through the steps of buying an email domain.
Registering for an Account
- Pick a Subscription Plan: Most email service providers have different subscription plans with different prices and benefits. Pick the plan that fits your wants and budget the best.
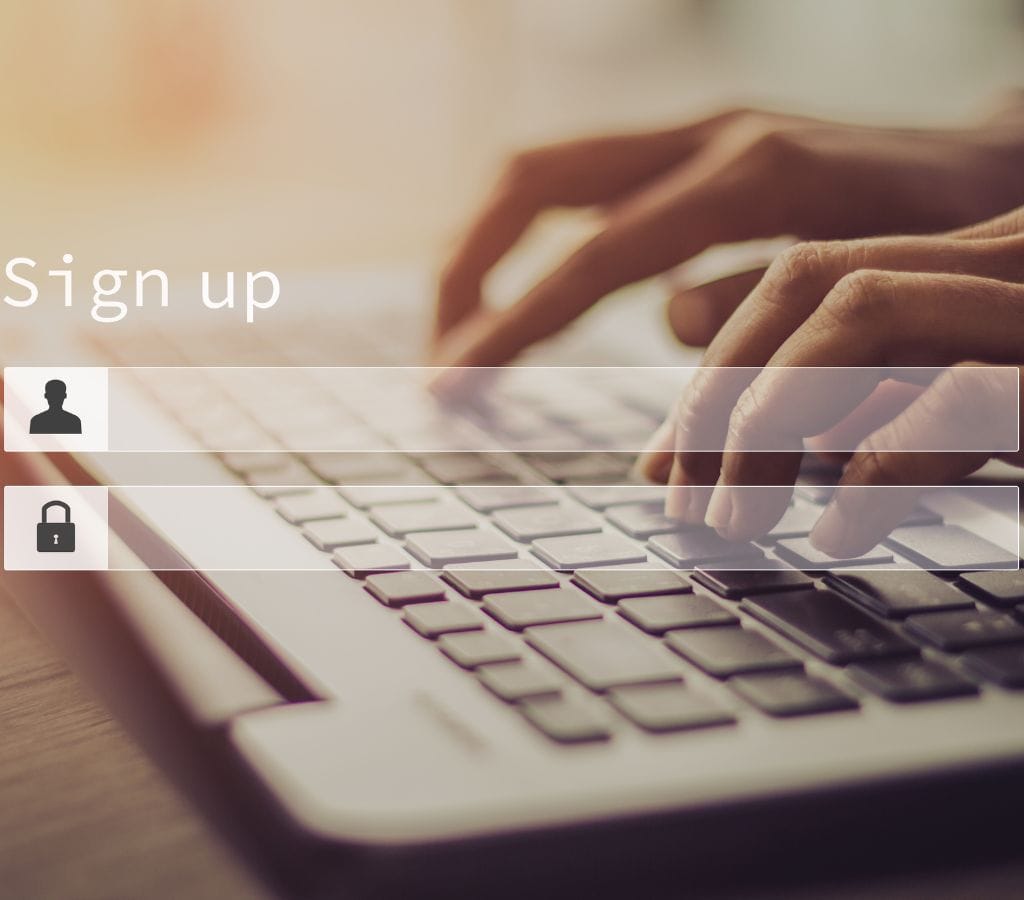
- Visit Provider Website: Visit the page of the email service you want to use. Find a button that says "Sign Up" or "Get Started" to start the signup process.
- Give Your Personal Information: Fill out the necessary information, which usually includes your name, the email address you want to use, and other contact information. For security reasons, some companies may also need you to go through extra steps of verification.
- Pick a Domain: Make sure you pick a domain name for your email address if the service provider lets you. You could use your name, the name of your business, or a version that fits your brand.
- See If it's Available: Check to see if the email address or domain name you want is already taken. If it's already taken, the service may offer other choices or extra time.
- Finish Registering: Just do what it says to finish the registering process. It's possible that the email service will ask you to agree to their terms and conditions.
Choosing Your Email Address
- Personalize Your Address: If you can pick your email address, make it unique and show who you are or what you stand for. You could use your name, a version of it, or a mix of your name and the name of your business.
- Think about Professionalism: Make sure that your email address always looks professional. Don't use words or numbers that aren't proper or professional because they could hurt your credibility.
- Multiple Accounts: If the email service you choose lets you have more than one account within your domain, you might want to make separate accounts for personal, work, or different areas within your company.
Setting Up Payment and Subscription
- Payment Options: Choose the method of payment that works best for you and fill out the form with the necessary information to set up payment for your email address subscription. Credit and debit cards, as well as PayPal, are common methods of payment.
- Subscription Period: Choose the length of time you want to subscribe, whether monthly, yearly, or based on the service's offerings. Remember when the extension is due to ensure you don't lose service.
- Review the Terms and Pricing: Before you choose a subscription plan, make sure you read through the terms of service, price information, and any extra features or restrictions that come with it.
- Verify and Finish the Payment: Check your payment information again, and then finish the payment process to buy your email address.

How to Keep Your Email Address Safe?
It's important to keep your email address up-to-date and protected to keep your communication running smoothly and your private data safe. So, we will discuss important things you should do to keep your email address safe and secure.
Regularly Updating Your Password
- Strong and Unique Password: Use a strong and unique password to protect your email account. Don't use information that is easy to guess, and think about using a mix of letters, numbers, and special characters.
- Rotating Your Password: Change your password often to lower the chance of someone getting in without your permission. Try to change your password every two months or whenever you think there has been a security breach.
- Don't Share Your Password: You should never give your email password to anyone, not even people you trust. For safety reasons, everyone should have their own personal information.
Setting Up Two-Factor Authentication
- Turn on Two-Factor Authentication (2FA): Two-factor authentication makes your email account even safer. Along with your password, this function needs a second step of verification, like a unique code sent to your phone.
- Pick a Reliable 2FA Method: Make sure you pick a safe 2FA method, like an authenticator app (like Google Authenticator) or SMS verification code. Email shouldn't be your main form of 2FA because anyone can hack into your email account.
Understanding Your Privacy Settings
- Check Your Privacy Settings: Learn how to use the protection settings that come with your email provider. To customize your settings, you can limit who can view your online status and contact information.
- Manage Email Forwarding and Filters: Set up email forwarding and filters to organize new emails and reduce spam. Turn on your email's spam filters to avoid unsolicited communications.
- Avoid Public Wi-Fi Networks: Be careful when you use public Wi-Fi to access your email account, as they might not be safe. Use a safe and private internet connection as much as possible.
- Beware of Phishing Attacks: Be careful of phishing attacks, which try to trick you into giving out private information. When you get emails that you didn't ask for, be careful clicking on links or giving out personal information.
Having a custom email domain is not just about having a professional email address; it's about building a strong online identity that reflects your brand's values and professionalism. Whether you opt for a free or paid solution, following the steps listed above will let you set up and manage your own email domain.
